
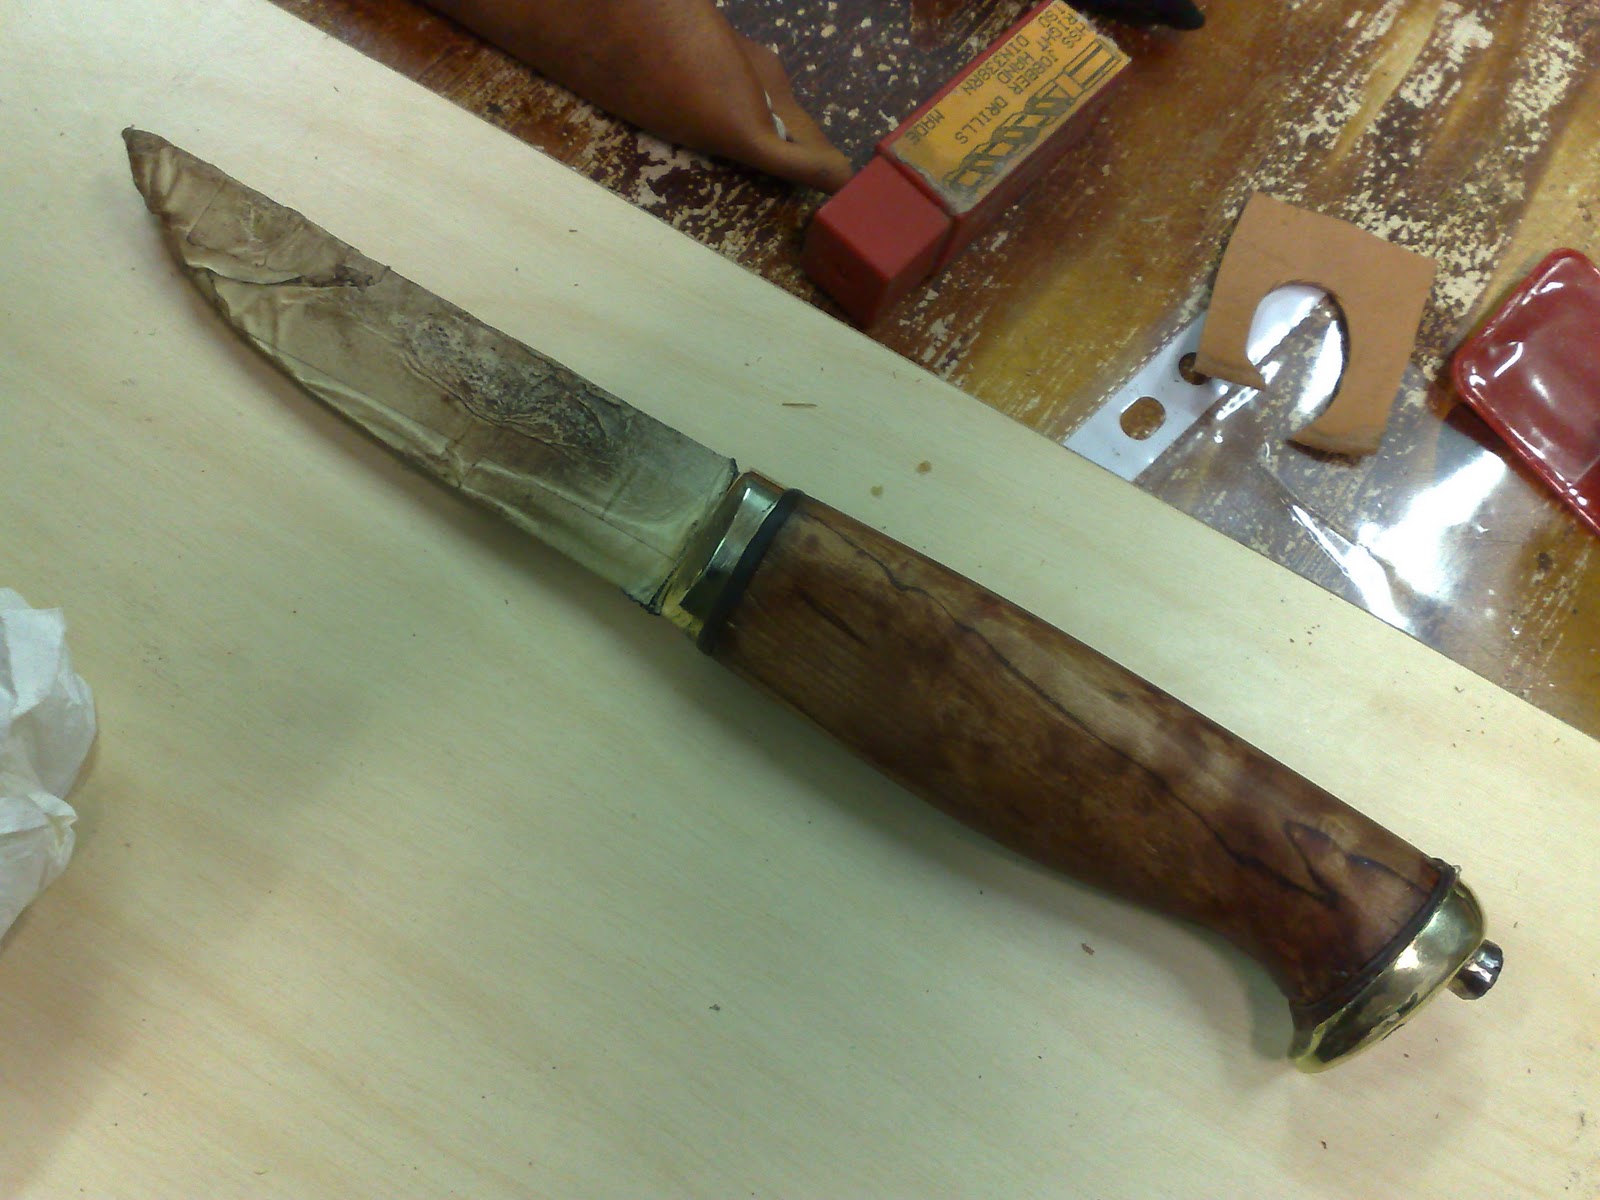
so as i am participating as assisting teacher at several knife making courses, i "had" to make one puukko to myself, and at the same time teach others, i didnt have opprtunity to forge my own blade as the students were on the anvils but i had this pretty slick, sturdy puukko blade that Mr. Kotavuopio gave me. Its made out of 52100 steel which is used on ball bearing races. Its specailly heat treated so that the edge is pretty damn hard but the spine aint. Blade has some 10 centimeters in it and its pretty heavy as the spine itself starts at thickness off 5 millimeters. The tail is more like on rugged leuku´s.

The next thing was adding a bit of length to the tail so i welded a stainless steel screw to it. I split the end and slipped it over the tang and after a tiny tig welding it was there. I kept the tang cool with wet cloth so the heat treatments wouldnt ruin.

So, the blade was ready and i cut a curly birch block in to about 15 centimeter long pieces in 30 cm radius and with a band saw, i made a bunch of handleblanks for others too. I selected minne and drilled the hole for the tang all the way thru the piece of handle blank. Then i started to file and fit the blade to the handle. I dont know if you already know this but a jigsaw blades and other tiny saw blades are very good tools for the fitting, id say they beat the heck out of files any day.
Then i had the tang starting to perforate the handle pretty well so it was time to look for something, some material to be used in handles ends, we call´em "hela´s". I didnt figure any good source althought i wanted to use antler or cow horn at first but i started to them off .308 rifles brass cartridges since i have bunch of those around.

I carved some coarse molds into cuttlefish mold and then it was time to melt the used brass cartridges to be casted into molds.

I poured a hint of Borax into melting cup of brass and then i cast the stuff into mold and yanked the front part off and it copied pretty well into molds shape,still there was plenty of filing to be done...:)

So it was time to grind,sand and file the brass parts a little,or even more, i dont deny....but the frontal part startted to take its place pretty easily and fitted snugly over blades tang.

Then some rough shaping on the wooden handle that was still a block shaped...


The brass piece to be fitted on the tangs end was very heavy and big so i had to shape it pretty much.

It was stiil pretty easy to make the parts fit nicely as the knife could be put in to one piece and then into pieces,thanks to the threaded tang´s extension. It will be gone still,when the knife is all the way ready and i can pound the screw just like a riveted end so it will disappear a the end.


Hope you liked this and found it maybe even useful on your own projects.
8 kommenttia:
Really fine looking. SO I can hook up with you some day and make my own puukko with you?!
why not, sir :)
Fantastic job so far. I really like it!
bmatt
Very nice work.
Hienoa työtä, kateeksi käy. Jos olisi kunnon työkalut, niin voisi hyvinkin koetella oman puukon rakentamista.
Blogissani on uusi viesti liittyen vanhaan H- Rosellin puukkoon joka kaipaisi ehostusta, sinä olet varmaankin paras asiantuntija ko. aiheessa.
Osaisitko lisätä neuvose puukon suhteen blogiini kommenttiosioon, kiitos!
Arosusi
Wow, great work! I want to try casting the fittings sometime soon myself. Thanks for the post, it´s great!
Aro,
se on Rosellin perus-eräpuukko, minun milestä hemmetin asiallinen veitsi,ja olis kiva löytää itsekkin moinen metsästä.
Szervusz Kés Készítő !
Nagyon tanulságos képek. Köszönöm szépen a bemutatást, és a segítséget. A végeredmény pedig nagyon dekoratív lett.
Olajos János, alias AMA.
Lähetä kommentti